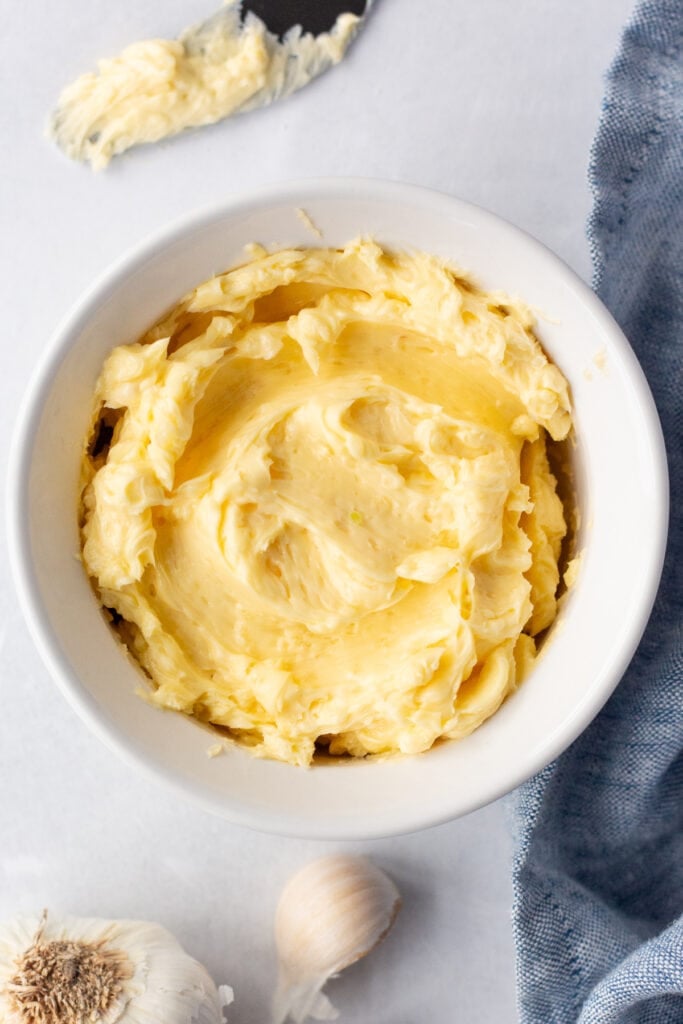
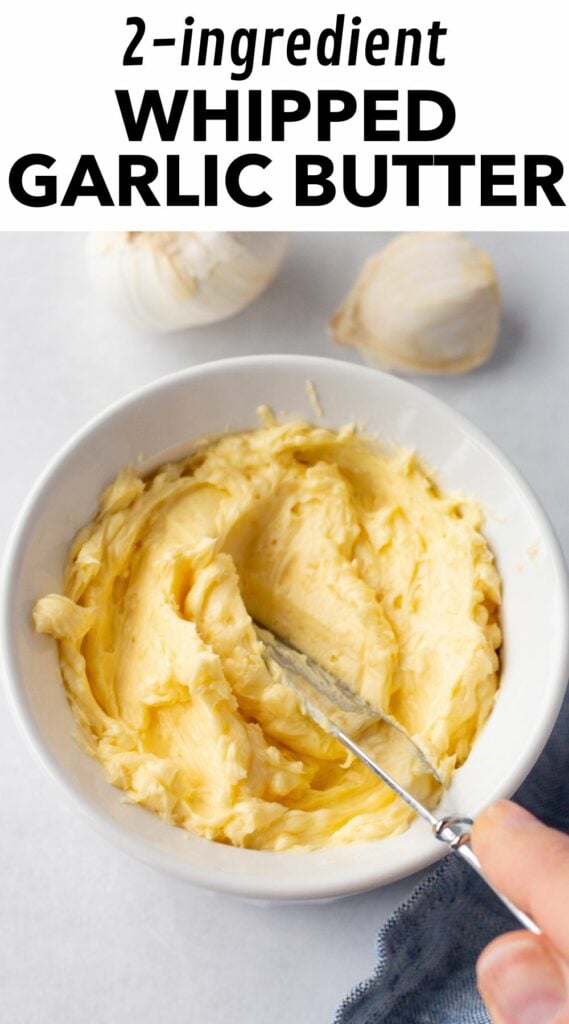
This whipped garlic butter, crafted from butter and fresh garlic, is a versatile addition to your cooking. Ready in just 10 minutes, it elevates steak, transforms homemade garlic bread, and enhances roasted vegetables with its rich, garlicky flavor. Easily kept in the fridge or saved in the freezer, keep this garlic compound butter as a flavorful tool in your kitchen.
Garlic butter is a thing of magic.
It can totally transform what you put it on and is super easy to make.
Garlic butter is a compound butter, which just means that it’s butter with other ingredients mixed in.
While my family doesn’t eat a ton of butter, when we do we make it worthwhile. Like using herb butter for our Thanksgiving smoked whole turkey and whipped honey butter on our cornbread muffins.
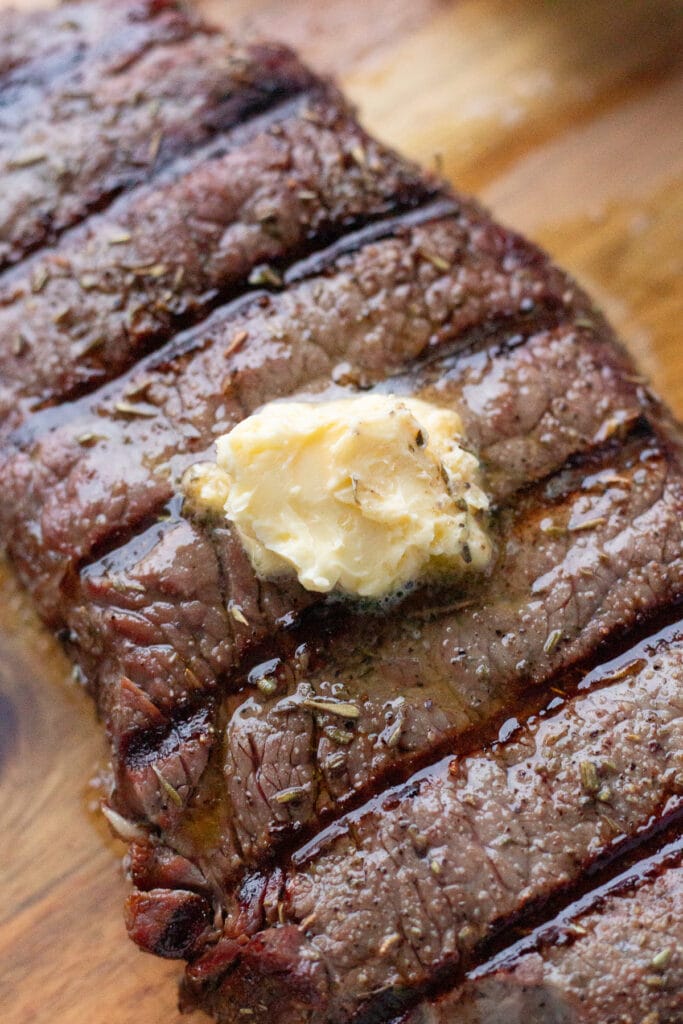
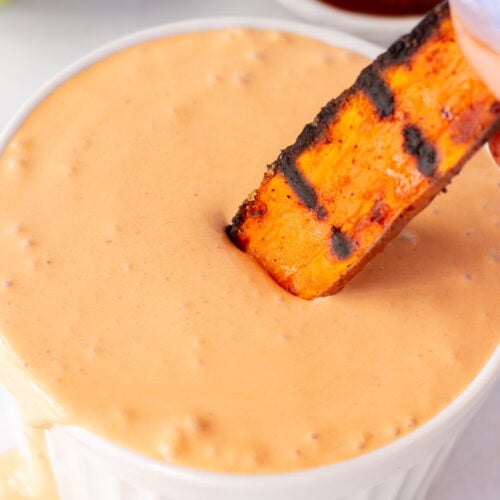
We love this garlic butter on grilled steak (especially when we grill it with my homemade steak seasoning), but there are a ton of other uses for it too.
Scroll down to read more about it, including step by step pictures and instructions, as well as helpful tips, so you can make this homemade garlic butter for your family and friends.
*Quick note: this garlic butter, because it uses fresh garlic, has a strong garlic flavor. Don’t get me wrong – it’s entirely delicious, but it is for people who love garlic.
If you don’t like strong garlic flavor I suggest you start with two cloves of garlic, take a small taste of the butter, then add more if you’d like.
You only need 2 ingredients
(Note: the full ingredients list, including measurements, is provided in the recipe card at the bottom of this post.)
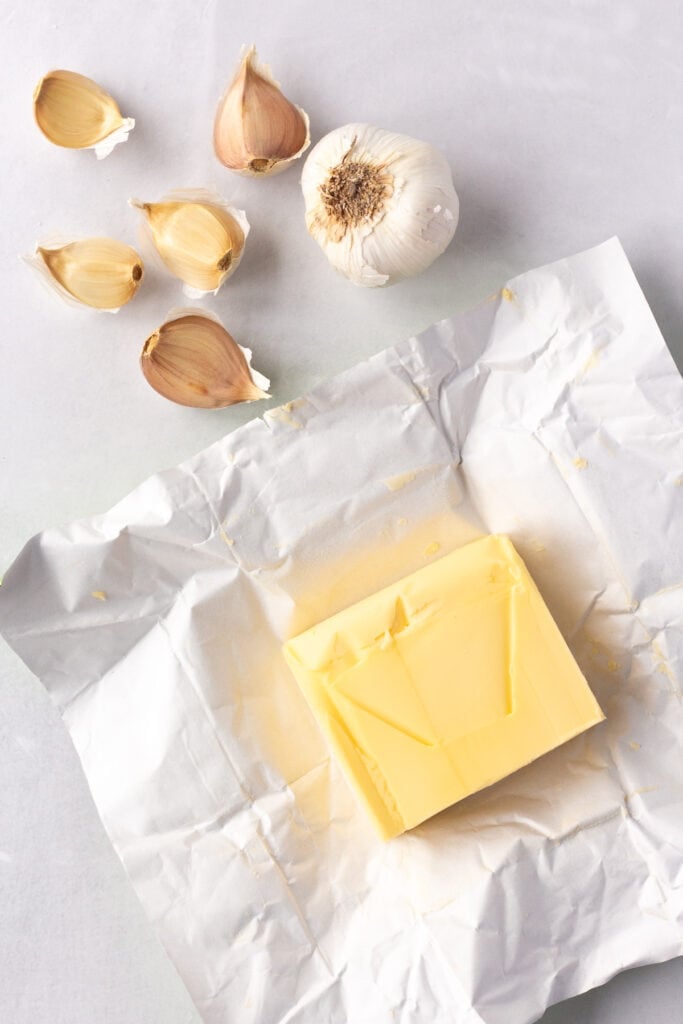
There’s really only two things you need: garlic and butter. But more specifically, you’ll want the following types of garlic and butter.
- Garlic – use fresh garlic here. Granulated or powdered garlic is going to make your garlic butter taste gritty.
- Salted butter – I typically use the grass-fed salted butter from Costco, but any salted butter would work. I have also made this recipe with ghee, or clarified butter, and it works well too.
How to make whipped garlic butter
(Note: please see the recipe card at the end of this post for the complete written instructions.)

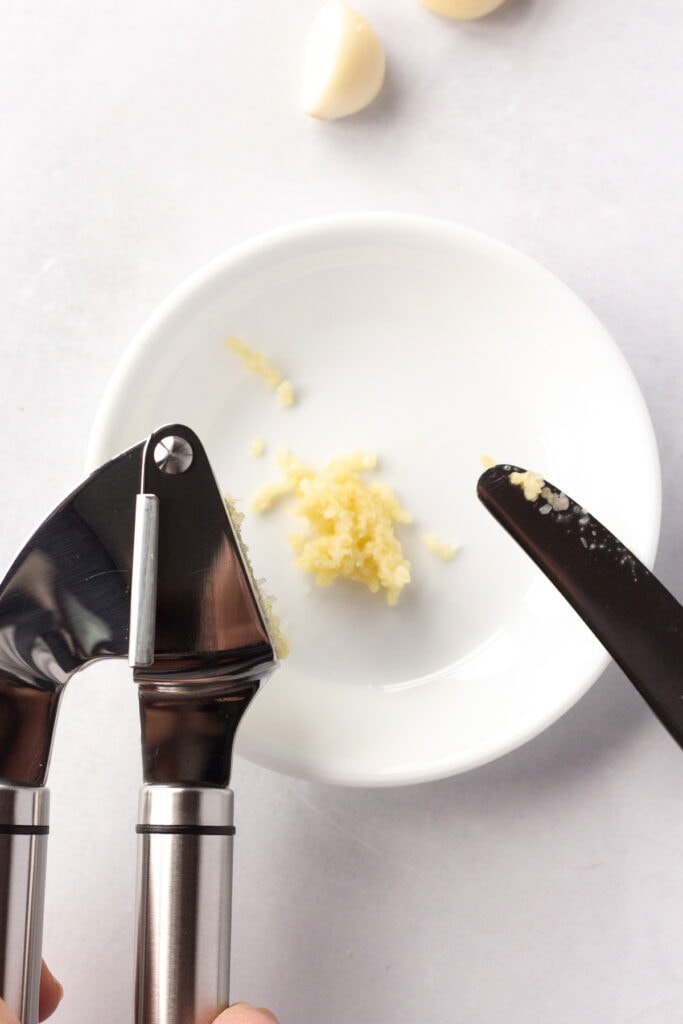


Pressing vs mincing garlic
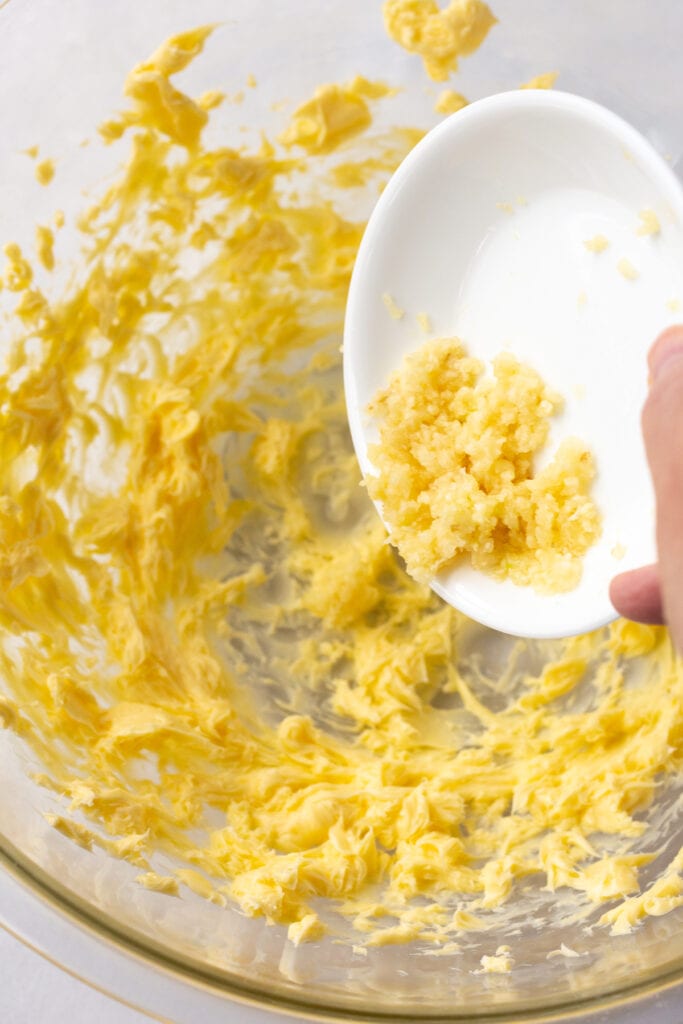
This recipe calls for using a garlic press instead of mincing the garlic (which means to finely chop it).
Garlic that’s been pressed comes out in almost a paste, which is easier to incorporated evenly into the butter than mincing the garlic.
If you don’t have a garlic press, the next best thing is to use a microplane to finely grate the garlic. If not, mincing the garlic will work but just won’t be as smooth.
Save this post to your Pinterest for later! ⤵️
TROUBLESHOOTING TIPS
- The butter melts. If the butter has only melted a little, place the bowl with the butter back in the fridge to let harden then continue on with the recipe. If it’s melted all the way you are better off starting fresh as the text of the butter will change.
- You need to save it for later. Simply store the garlic compound butter in an airtight container in the fridge – it is best for up to 2 weeks. If you want longer-term storage, wrap the butter in plastic wrap and store in the freezer for up to 6 months.
How to use homemade garlic butter
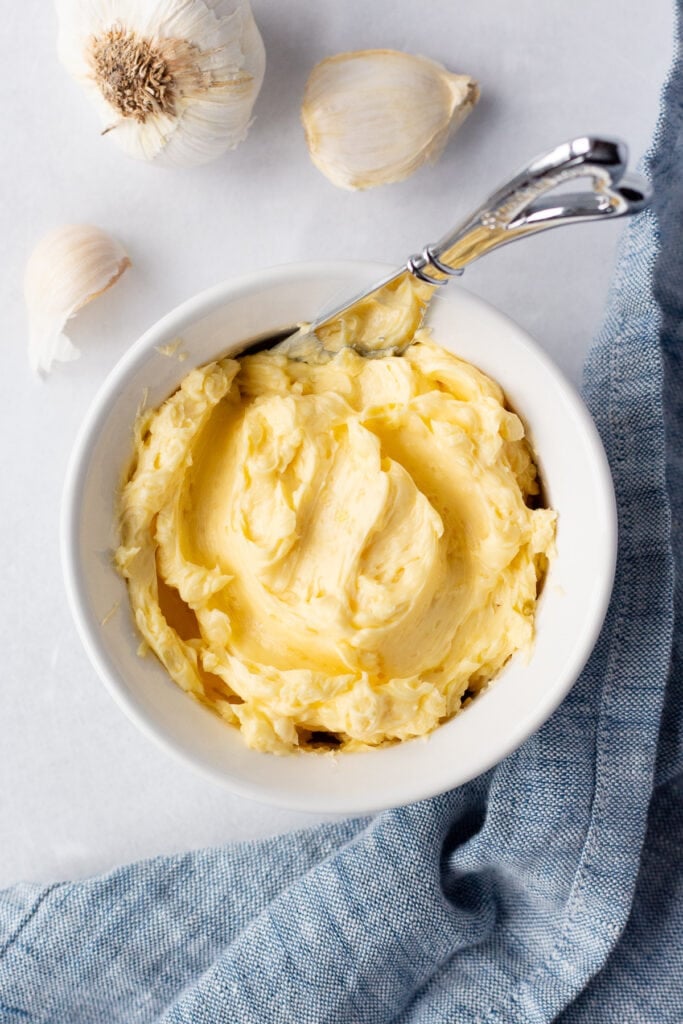
My family loves this garlic compound butter on grilled steak (as pictured below), but you can absolutely also use it:
- to make toasted garlic bread (gluten free or otherwise),
- to put it on roasted veggies,
- when cooking shrimp or other seafood, or
- as a spread for cornbread muffins!
YOU CAN ALSO FOLLOW ME ON FACEBOOK, INSTAGRAM AND PINTEREST TO SEE MORE GOOD TO EAT, GLUTEN FREE FOOD ON AND OFF THE GRILL.
If you like this recipe for compound garlic butter, then please leave a 5-star rating and let me know how it went in the comments below!
2-Ingredient Whipped Garlic Butter
Equipment
- A hand mixer
- A garlic press
- A rubber spatula
Ingredients
- 4 ounces butter one stick
- 4 large cloves fresh garlic roughly 3 tsp pressed/minced
Instructions
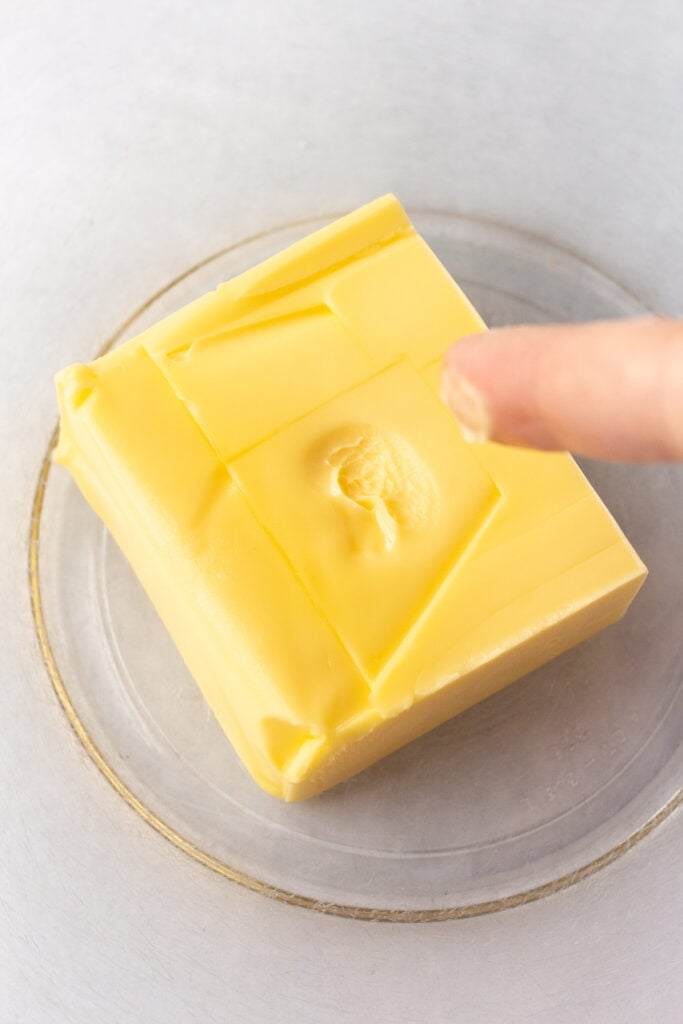
- Take the butter out of the wrapper and place it in a large microwaveable bowl. If the butter isn’t soft to the touch, microwave it until it is. Start with 10 seconds then touch the butter to test its softness – you want it to be sticky but not melty. If it’s still pretty hard, try 5 more seconds. You shouldn’t need more than 20 seconds to soften it as you don’t want it to start melting. Make sure to check all sides of the butter as the middle is usually what starts to melt first! If you start with room temperature butter, you shouldn’t need to microwave it.
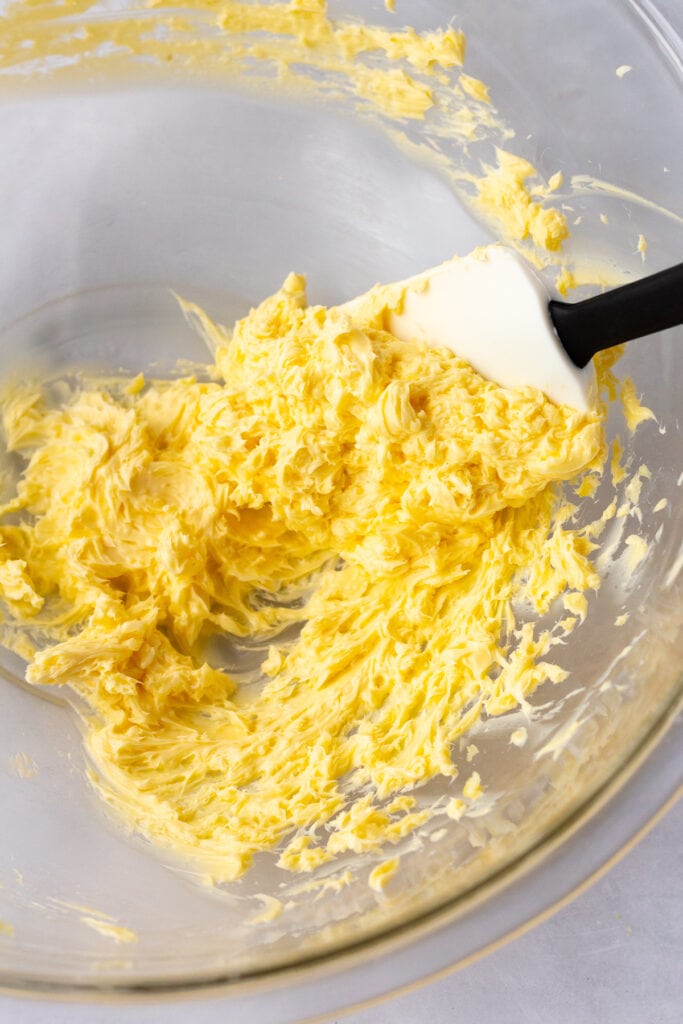
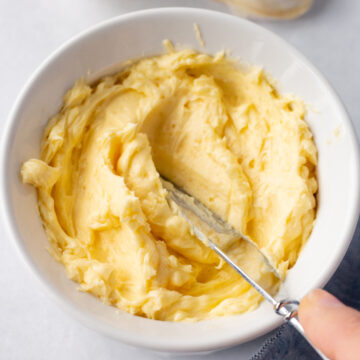
- Use a hand mixer to whip the butter before putting the garlic in – this will help more easily incorporate the garlic. Start on a low speed and be careful not to splatter the butter outside of the bowl, gradually increasing the speed up to medium and whipping until the butter looks fluffy in the bowl.
- Peel the skin off the garlic cloves, then use a garlic press to press the garlic into the bowl with the butter. Take a rubber spatula and gently scrape the butter and garlic into the middle of the bowl – this will help incorporate everything more easily. Use the mixer to combine them together, starting on low speed and increasing gradually to medium, until the butter once again starts to look fluffy.This should take no more than 5 minutes.
- Use a spatula to gently scrape the herb butter out of the bowl and place it in a small dish to serve.
Notes
- You can use a stand mixer to whip the ingredients together, just make sure the bowl isn’t cold as it will harden the butter.
- The same goes for if you’re starting with already softened butter – make sure the bowl isn’t cold otherwise the butter will harden as you start to whip it, making it more difficult for the ingredients to combine.
- If you don’t have a garlic press, the next best option is to finely grate the garlic with a microplane. Or you can use a sharp knife and cutting board to mince the garlic though the texture of your garlic butter may be a little chunky.
- Store the butter in the refrigerator for a couple weeks in an airtight container, or wrap it in plastic and freeze it for up to 6 months.

Leave a comment