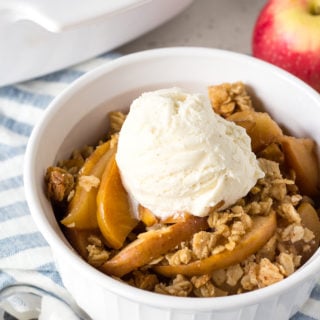
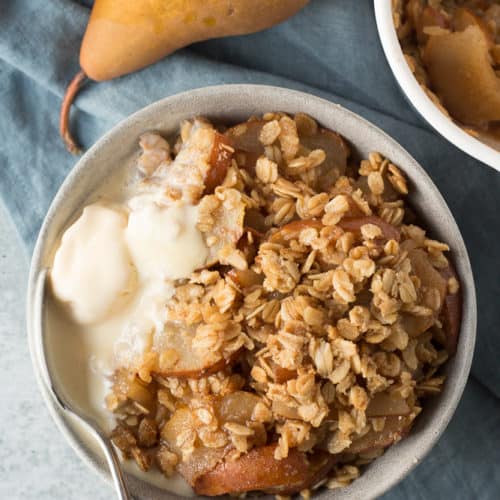
This Gluten Free Apple Crisp recipe is an easy fall dessert made in one bowl. It’s baked to perfection with a crunchy topping made of oats, almond flour, cinnamon, butter, and maple syrup. Eat it after dinner then save the leftovers for breakfast!
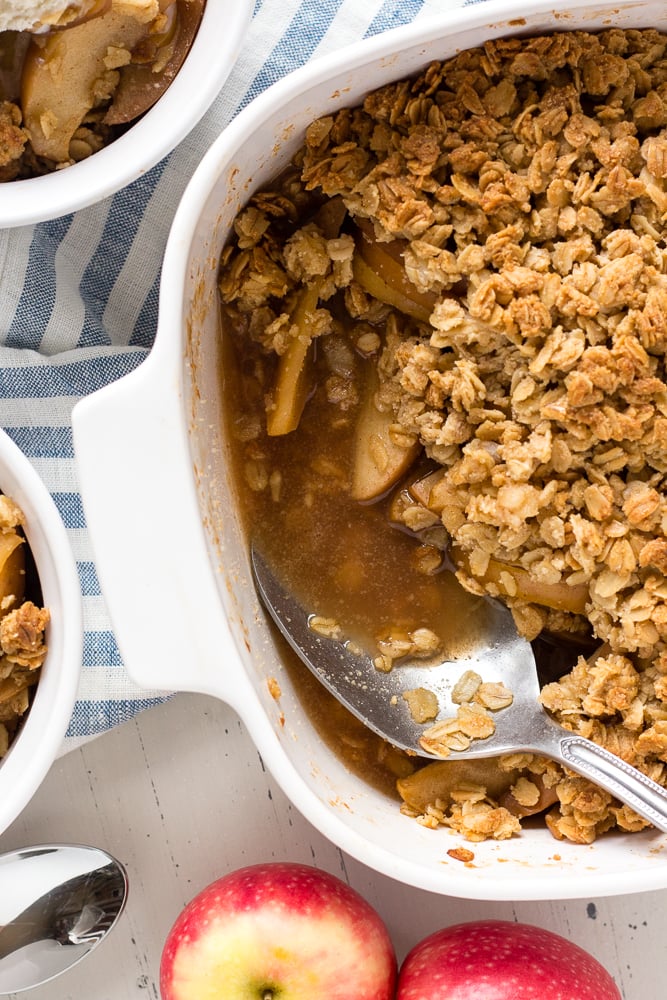
Once fall comes around and the apples start rolling in, it’s definitely time for apple crisp. While I love most desserts, crisps and crumbles tend to be my favorites. Especially if there’s a scoop of ice cream on top.
When recipe testing this apple crisp I tried different methods and kept getting results that just weren’t what I wanted. Finally, I figured out that pre-baking the apples is key – it helps soften them up.
What makes this the best gluten free apple crisp
- You only need one bowl to make this apple crisp!
- The baked crumble topping includes almond flour for a little extra protein and fiber.
- It’s naturally sweetened with maple syrup – no white or brown sugar is used.
- You don’t need to peel the apples for this recipe – it cooks up great with the peels still on!
Ingredients
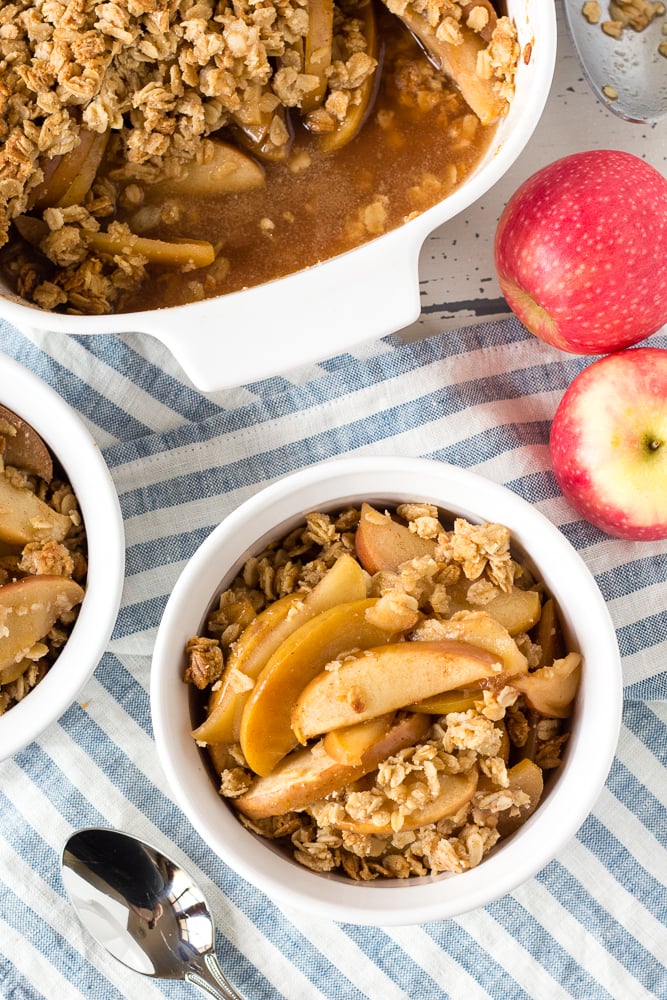
- Apples – you can use sweeter apples, like a Fuji or Honeycrisp apple, or tart apples, like Granny Smith apples. I prefer the sweeter.
- Spices – ground cinnamon & ground nutmeg to lend some warm fall flavors.
- Maple Syrup – use pure maple syrup for the best result.
- Lemon juice – fresh or bottled is fine.
- Arrowroot powder – this is also called arrowroot starch and helps thicken the crisp. You could also use cornstarch if you don’t have arrowroot powder.
- Rolled oats – make sure they’re gluten free!
- Almond flour – use a fine grain almond flour (sometimes called almond meal). I like Bob’s Red Mill.
- Butter – salted is nice to give some extra flavor to the topping, but you can use unsalted butter too.
I’ve written condensed directions here including pictures so you can see how to make this recipe. The full set of detailed instructions are in the recipe card at the bottom of the page.
Before you scroll through, there is important information throughout this post.
How to make apple crisp gluten free
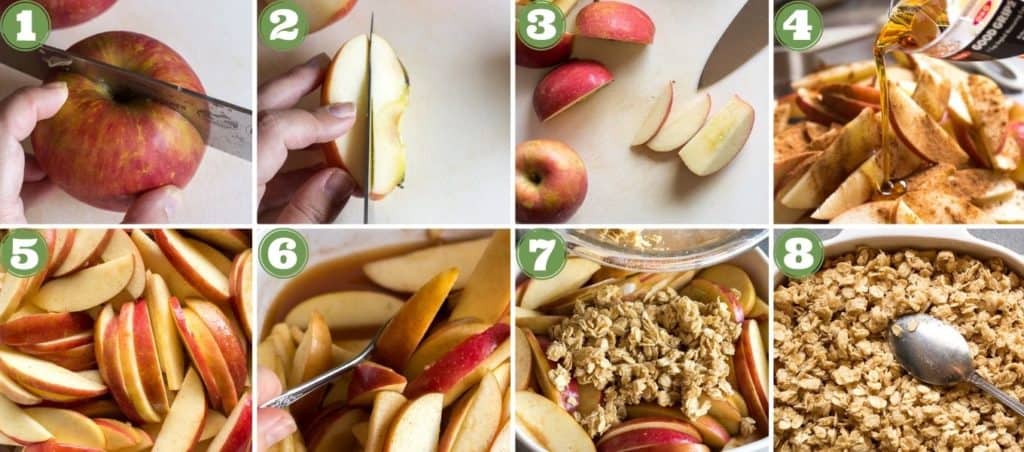
- Preheat the oven to 350 degrees F. Use a large sharp knife and cutting board to first cut the fresh apples in half.
- Next cut the apples in quarters, the cut out the core with the seed in it.
- Take each quarer and slice it thinly.
- Place the sliced apples in a large bowl with the spices and pour the maple syrup in, along with the lemon juice and arrowroot powder. Stir everything together with a large spoon to coat the apple slices.
- Pour the apple mixture into an 8×8 baking dish, spreading out the apples evenly. Cover the dish with a piece of foil and place in the oven for 20 minutes. While the apples are cooking, mix the topping ingredients together in a bowl. Set aside.
- When the timer goes off, remove the apples from the oven and stir them to help distribute the juices.
- Pour the crisp topping in the dish over the apples.
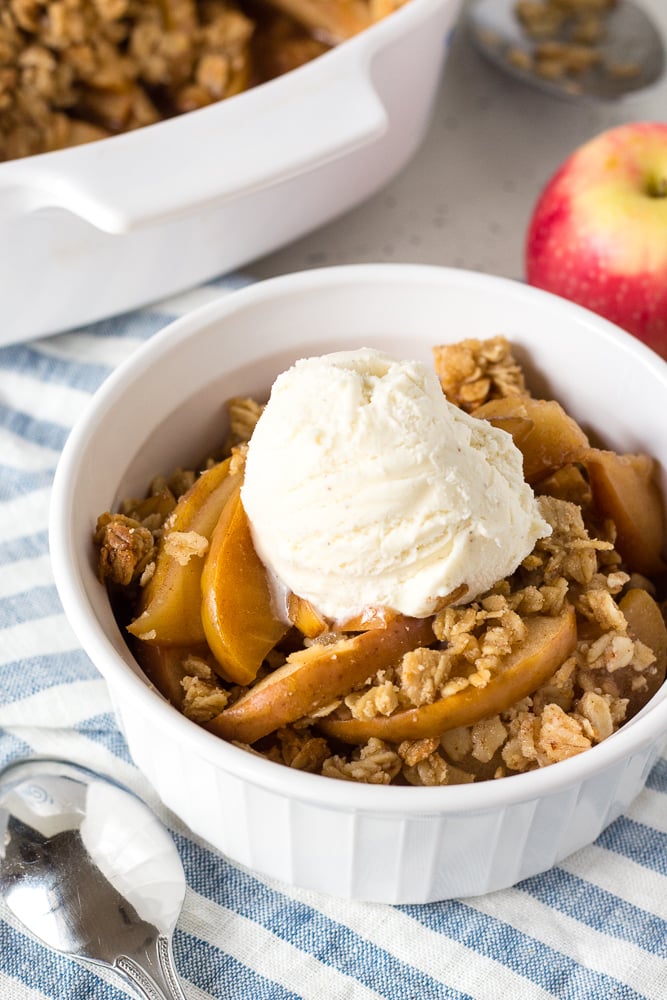
- Spread the topping into an even layer with a spoon, then return the dish to the oven and cook for 40 minutes, until topping is golden brown. Remove and let cool for 5-10 minutes, then serve with a scoop of vanilla ice cream or a dollap of whipped cream if desired.
FAQ
Check out these answers to commonly asked questions about gluten-free apple crisp.
The apples that are best for apple crisp are those that will hold their shape a bit when cooked. Fuji, Golden Delicious, Honeycrisp, and Granny Smith are all good apples for baking that hold their shape when they’re cooked.
No, you do not need to peel apples for apple crisp.
I wouldn’t recommend making apple crisp ahead of time, but you can be prep the apples ahead of time. Slice the apples and spritz them with a tablespoon or two of lemon juice to keep them from browning, then cover and put them in the fridge. Prep the rest of the recipe just before cooking to avoid the topping getting soggy.
Since it has butter in it, yes, you need to refrigerate apple crisp. Wait until it has fully cooled, then cover it with plastic wrap or store it in an airtight container in the fridge.
While you can definitely reheat it in the microwave, the topping won’t be crunchy. The best way to reheat apple crisp if you want a crunchy topping is to do it in the oven. Turn the oven to 350 degrees F and once it comes to temperature, put the apple crisp dish in and heat for roughly 10 minutes, until it’s warmed to your liking.
Recipe Tips
- Try and slice the apples so they’re roughly the same size. They will cook up more evenly this way.
- When you put the apples into the baking dish, there will be liquid at the bottom of the bowl. Arrange your apples first, then pour the remaining liquid over the top of the apples. This will help them cook.
- Don’t just put the topping on the apples before pre-cooking them. You need to mix them up so the top apple slices don’t dry out.
Recipe Substitutions
- If you don’t have arrowroot powder, you can use cornstarch in the same amount.
- Make this recipe dairy free and vegan by replacing the melted butter with coconut oil or vegan butter.
- Add roughly ¼ cup of chopped nuts to the topping for some crunch! Pecans or almonds would work well.
- If you like a little zip to your desserts, add in about ¼ tsp ground ginger to the apple mixture before baking.
Save this easy gluten free apple crisp recipe to Pinterest
IF YOU’RE LOOKING FOR MORE GLUTEN FREE DESSERT RECIPES, CHECK THESE OUT!
- Yogurt Dessert Bowl
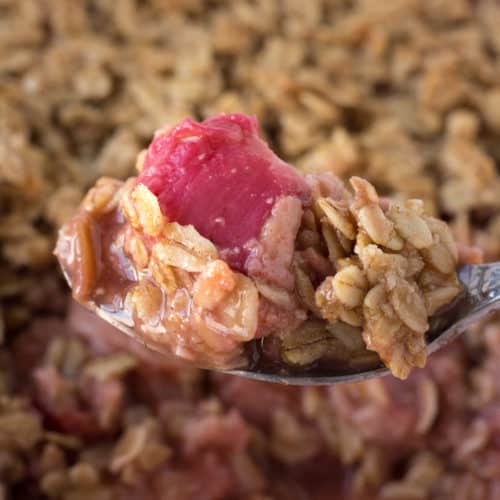
- Gluten Free Pear Crisp
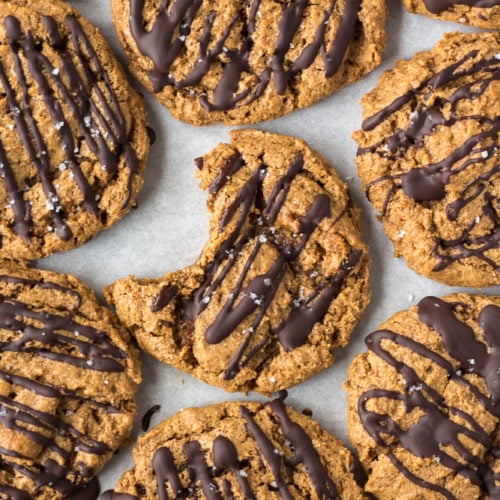
- Flourless Almond Butter Cookies
- Chocolate Covered Orange Slices
Or if you’d like another gluten free apple recipe, try one of these:
- Apple Broccoli Slaw
- Instant Pot Apple Sauce (by Pip & Ebby)
- Healthy Baked Apples
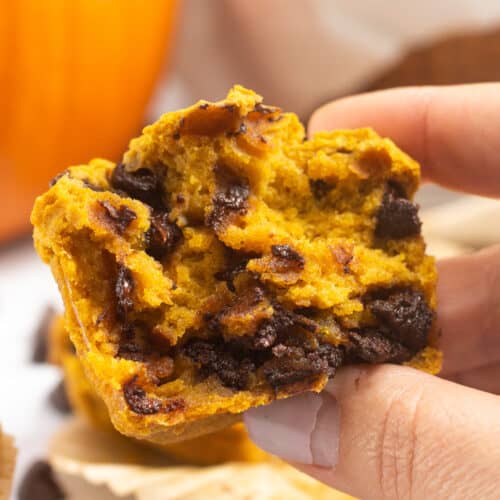
- Gluten Free Apple Cinnamon Muffins
If you try this Gluten Free Apple Crisp recipe (or any other recipe) then don’t forget to rate the recipe and let me know how it went in the comments below!
YOU CAN ALSO FOLLOW ME ON INSTAGRAM AND PINTEREST TO SEE MORE GOOD TO EAT, GLUTEN FREE FOOD.
Gluten Free Apple Crisp
Equipment
- An 8×8 baking dish
Ingredients
Filling
- 2 lbs apples I used Fuji
- ½ tsp ground cinnamon
- ⅛ tsp ground nutmeg
- ⅓ cup maple syrup
- 1 tbsp lemon juice juice from half a large lemon
- 1 tsp arrowroot powder
Topping
- 1.5 cup oats
- ⅓ cup fine almond flour
- ¼ tsp ground cinnamon
- ¼ cup maple syrup
- ⅓ cup melted butter
Instructions
- Turn the oven on to 350 degrees F.
- Cut the apples into thin slices using a large sharp knife and cutting board. One way to do this is to cut the apple in half, then in quarters. Take one quarter and put it on its long side, then carefully cut the core part out with the knife by making a straight cut down. Next slice the apple into thin slices – no more than ⅛ of an inch thick – and put them in a large bowl.
- Once all the apples are sliced, measure out the remaining filling ingredients with measuring spoons and cups and put them in the bowl with the apple slices. Mix everything together with a large spoon and pour into an 8×8 baking dish, spreading the apple out evenly. Cover the dish with foil and place in the oven to cook for 20 minutes.
- While the apples are cooking, rinse or wipe out the large bowl and measure out then add in the topping ingredients to the bowl. Mix everything together with a spoon and set aside until the apples cook.
- When the apples have cooked for 20 minutes, take out the dish and mix the apples up. This will prevent apples at the top of the dish from drying out.
- Spoon the topping over the apples, covering them as best you can but not pressing the topping down. Return the dish to the oven and cook for 40 minutes, turning the dish around 180 degrees after 20 minutes to prevent uneven browning.
- Remove the dish and let cool for 5-10 minutes, then serve!
Notes
- Try and slice the apples so they’re roughly the same size. They will cook up more evenly this way.
- When you put the apples into the baking dish, there will be liquid at the bottom of the bowl. Arrange your apples first, then pour the remaining liquid over the top of the apples. This will help them cook.
- Don’t just put the topping on the apples before pre-cooking them. You need to mix them up so the top apple slices don’t dry out.
- Replace the butter with coconut oil to make this recipe dairy free.
1 Comment