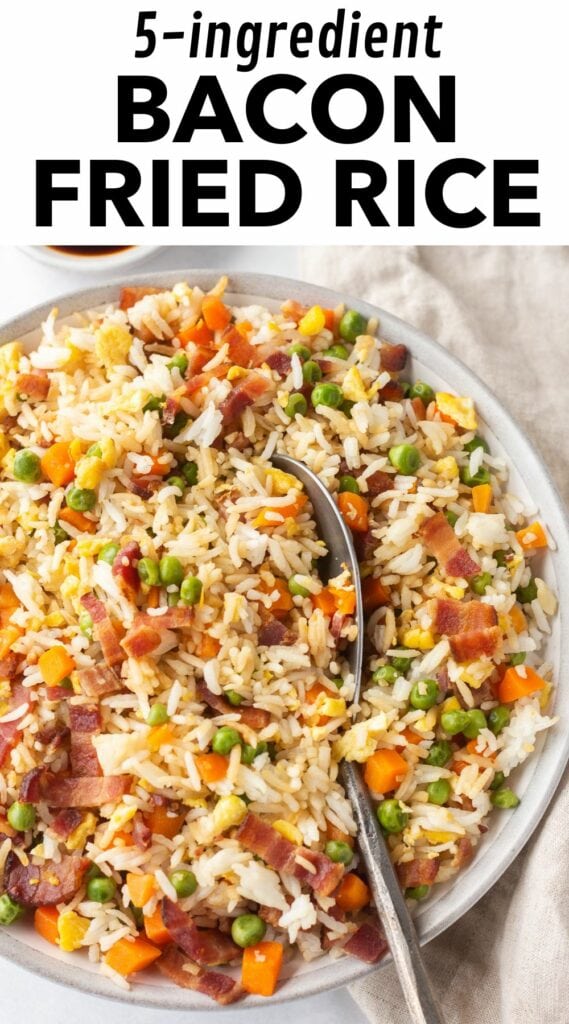
This bacon fried rice is gluten free comfort food that’s full of flavor. Made with just 5 ingredients – frozen veggies, meat, egg, rice, and tamari sauce – it’s a complete and family-friendly dish that cooks up more quickly than traditional fried rice. Plus it makes fantastic leftovers for lunch or even breakfast. With crispy bacon and wholesome ingredients, it’s sure to become a household favorite.
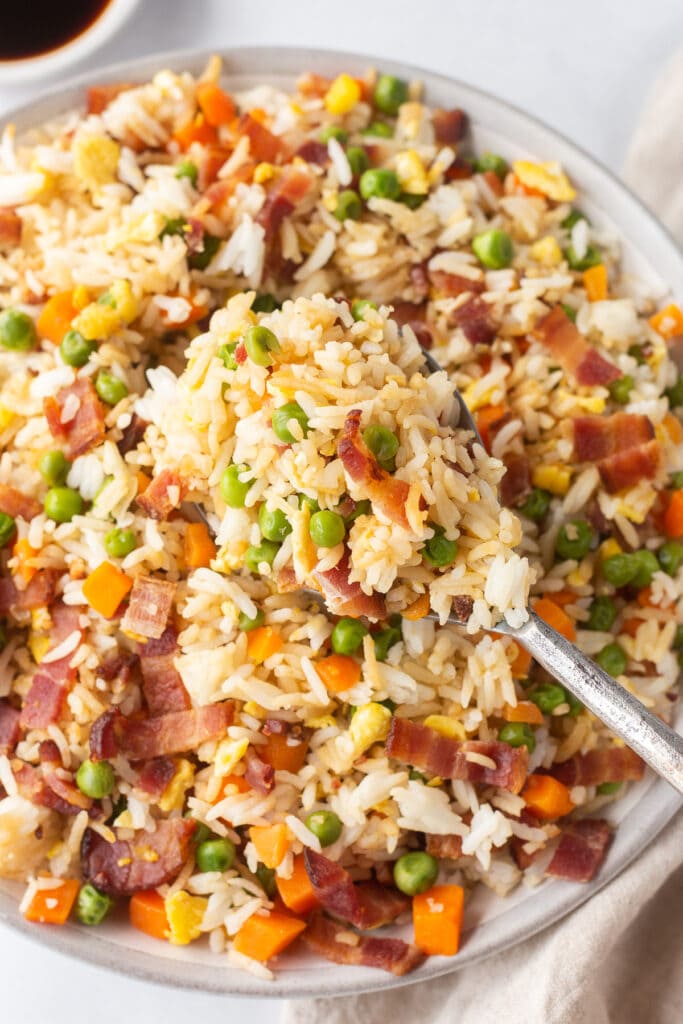
If you need a fall-back recipe that is filling and satisfying, this gluten free bacon fried rice is it.
I’ve eaten this bacon fried rice basically my whole life. My mom made a version of it for me growing up (hers had less veggies as well as some cut up chives), and when I was older I added in additional veggies to make it more of a complete meal. And my family goes nuts for it.
This recipe is similar to traditional fried rice, but a quick and dirty version. If you’re looking for something more similar to a takeout version, I found this recipe from Serious Eats that might be helpful.
Grab the following 5 ingredients
(Note: the full ingredients list, including measurements, is provided in the recipe card at the bottom of this post.)
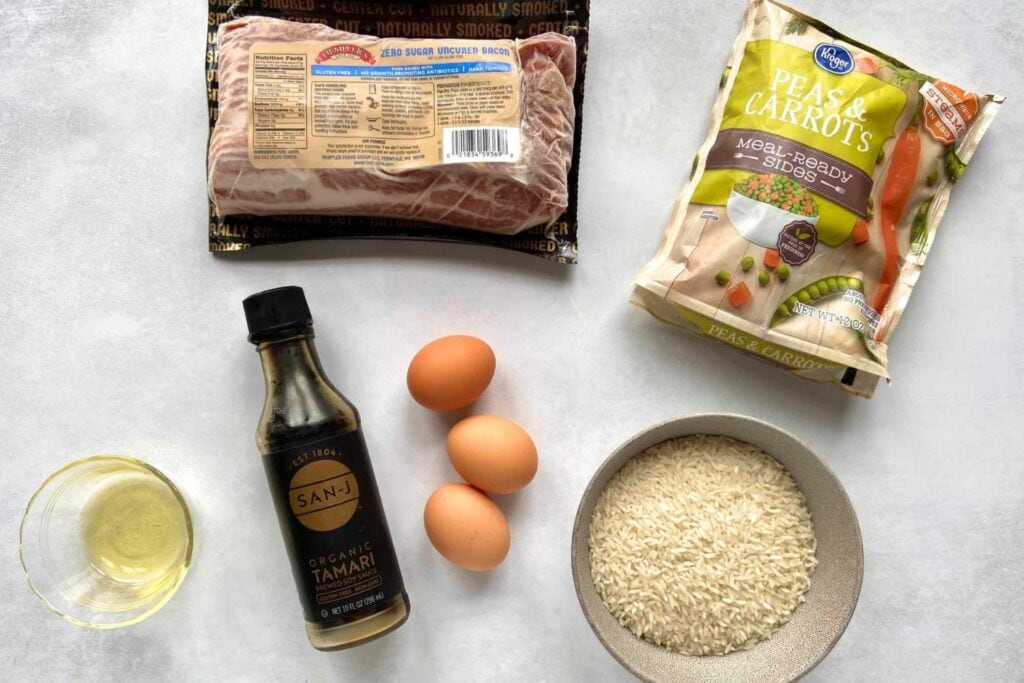
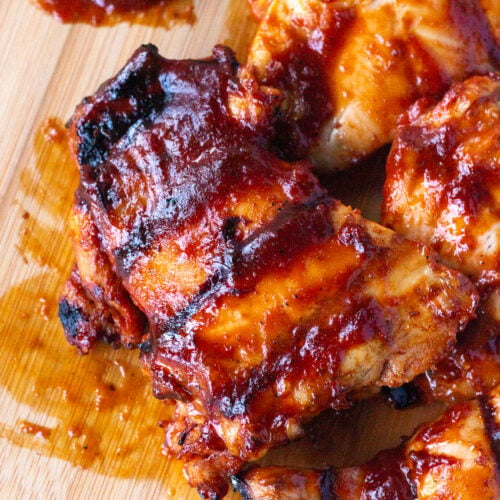
- Bacon: whatever kind you like will work here. I prefer a thick cut smoky bacon, but you can use a thinner cut or even turkey bacon. A heads up – you’ll also want to use the bacon grease, which you’ll cook the eggs in. If you’d rather use a different fat you can use any type of cooking oil (which is shown in the glass dish in the photo above).
- Rice: a long grain white rice is what I usually make this with, but truly any rice you have on hand will do.
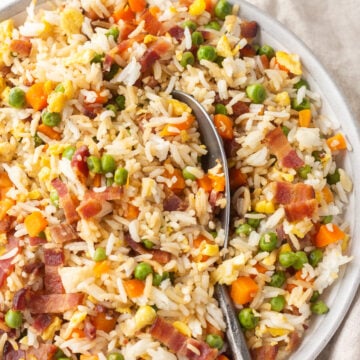
- Frozen Veggies: frozen peas and carrots are what’s shown in the photos but you can use whatever mix you like. I prefer to get the kind that can be heated directly in the bag in the microwave to cut down on the number of dishes to clean.
- Egg: the size of egg doesn’t matter here; what matters is how much egg you like in your fried rice. If you like more egg and have very small ones you might want to use 4 eggs instead of 3. On the reverse side, if you like less egg and have XL ones you might want to only use two. Totally up to you.
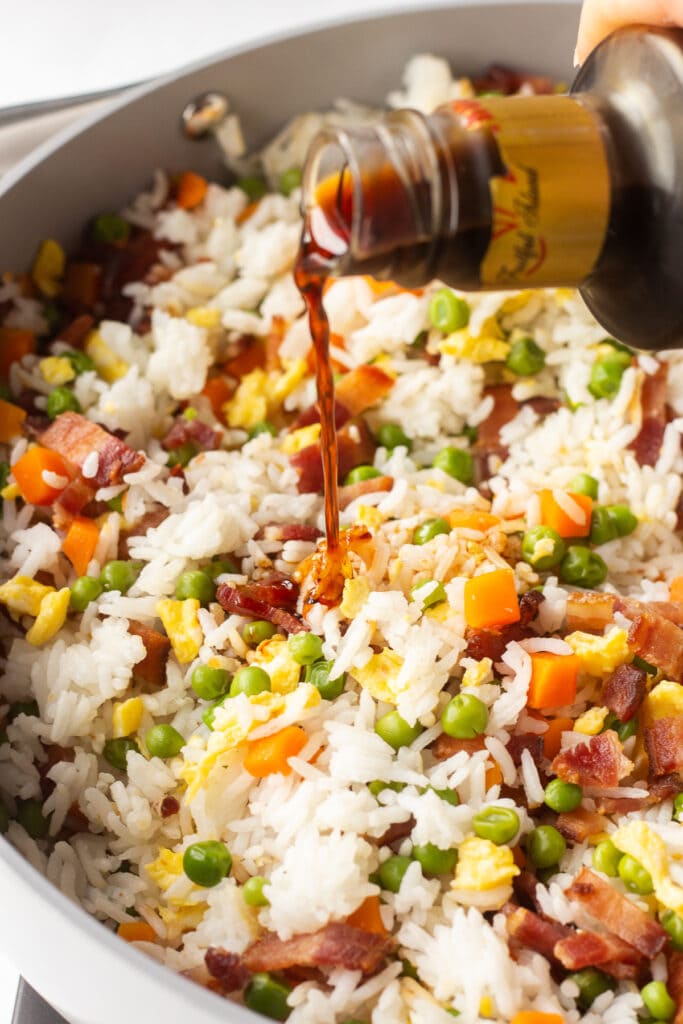
- Tamari sauce: to make this recipe gluten free I like to use tamari sauce. You could also use gluten free soy sauce. If you’re not gluten free you can use regular soy sauce.
How to Make Bacon Fried Rice
To make this recipe you cook all the components separately then bring them all together at the end.
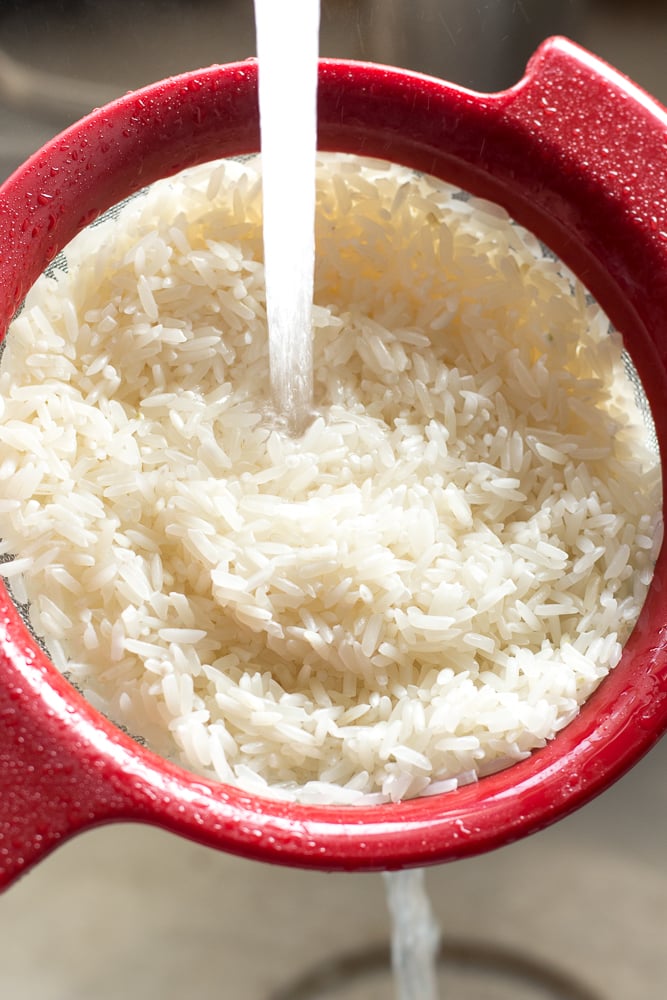
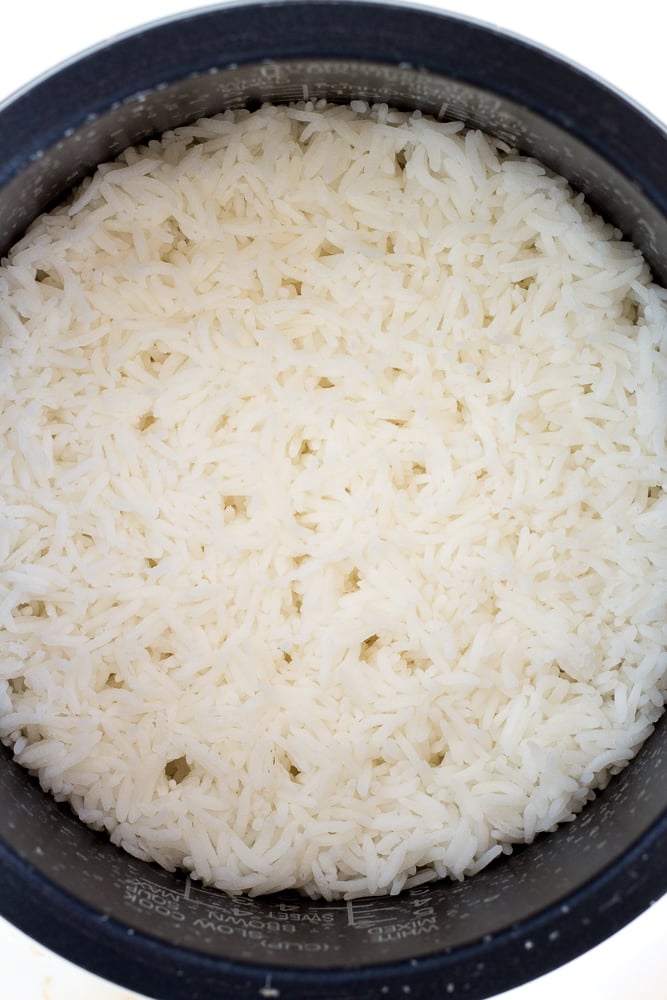
Cooking the rice
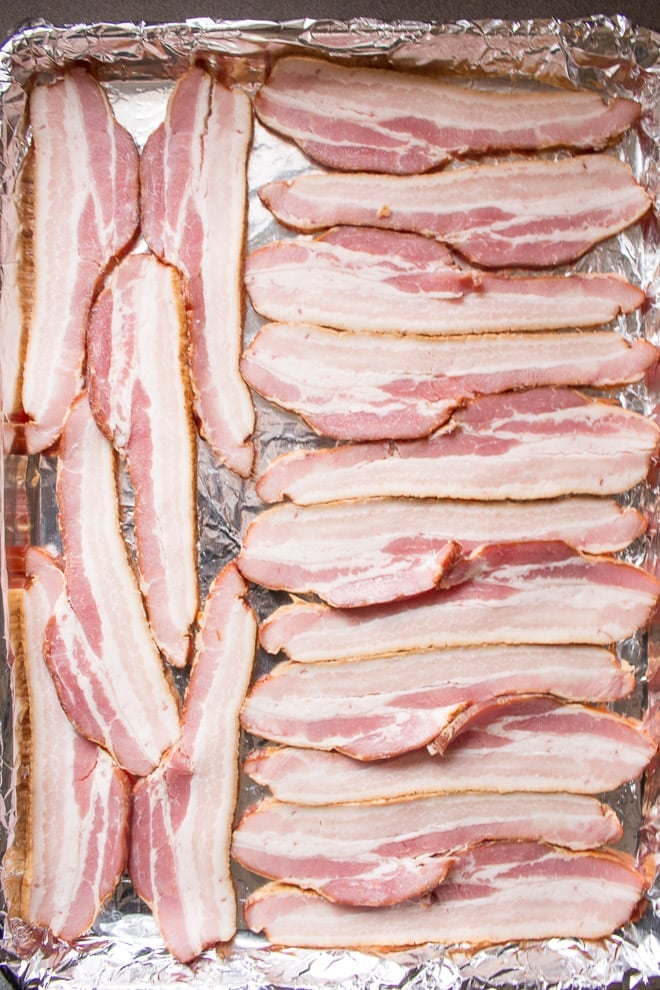
How to cook bacon in the oven
Cooking bacon on the stove can be such a mess – all the grease splatters everywhere it’s easy to get burned. Instead, try cooking it in the oven. If you have a wood pellet grill, you can also try making Traeger bacon if it’s too warm to turn on your oven.
Cooking the veggies and egg


*Cooking Tip* Be sure and drain the veggies before adding them into the pan with the rest of the ingredients! You don’t want the extra water making your rice soggy.
Putting together bacon fried rice
Save this post to your Pinterest for later! ⤵️
If you make and like this fried rice with bacon, then please leave a 5-star rating and let me know how it went in the comments below!
You can also FOLLOW ME on FACEBOOK, INSTAGRAM, AND PINTEREST to see more good-to-eat, gluten-free food on and off the grill.
5-Ingredient Bacon Fried Rice (Gluten Free)
Equipment
- One large baking sheet
- One pair of tongs
- One medium-sized pot to cook rice (or a rice cooker)
- Large plate
- One medium-sized pot to cook frozen veggies (or buy frozen veggies you can cook in the microwave)
- A large pan
- A tablespoon
Ingredients
- 2 cups uncooked white rice
- 1 pound of bacon plus 1 tbsp of bacon grease once cooked
- 10 ounces frozen peas and carrots
- 3 eggs
- 2 tablespoons gluten free tamari sauce
Instructions
- Begin by cooking the rice according to the package directions, rinsing it in water before cooking.
- Line a baking sheet with either parchment paper or aluminum foil. Lay the bacon out on the sheet, with very little overlap of the slices. Stick the pan of bacon in a cold oven and turn the oven to 400 degrees F. Set the timer for 20 minutes.
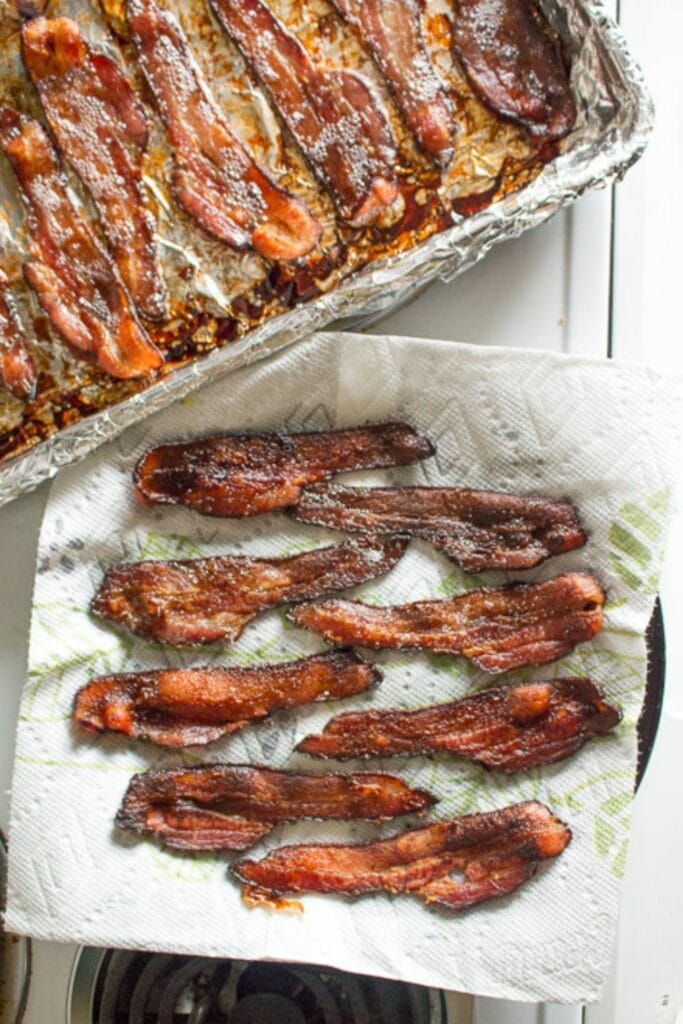
- After the timer for the bacon goes off check to see if it's done. It likely won't be, so return the it to the oven and set the timer for another 5 minutes. Keep checking it and cooking in 5 minute increments until bacon is cooked to your liking.
- While the bacon is cooking, cook the vegetables to the package directions, making them slightly underdone. Once they're cooked, drain off any excess water and set aside.
- Once the bacon is done, take a plate lined with paper towels and use tongs to transfer the bacon onto it, using additional paper towels as necessary between layers of bacon. Let the bacon cool. Drain the bacon grease into a small bowl to reserve for later.
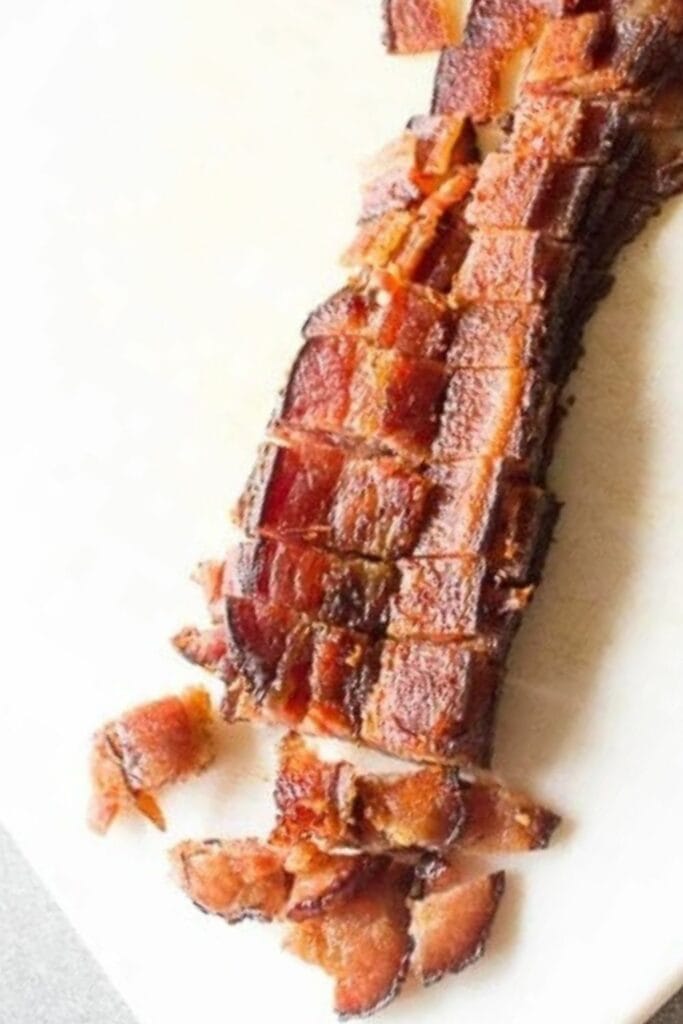
- Once the bacon has cooled, chop it into smaller pieces on a cutting board with a large knife. Typically I stack several pieces, then slice them in half lengthwise, then chop them into smaller pieces from there.
- When the rice is finished cooking, lay it on on the baking sheet that was used to cook the bacon. It will get some color and flavor from the leftover bacon grease as it cools.
- Heat a large pan with 1 tablespoon of the leftover bacon grease over medium heat. In a separate bowl, whisk together 3 eggs then pour them into the hot pan, scrambling them with a spatula or other utensil to cook them thoroughly (roughly 3 or 4 minutes).
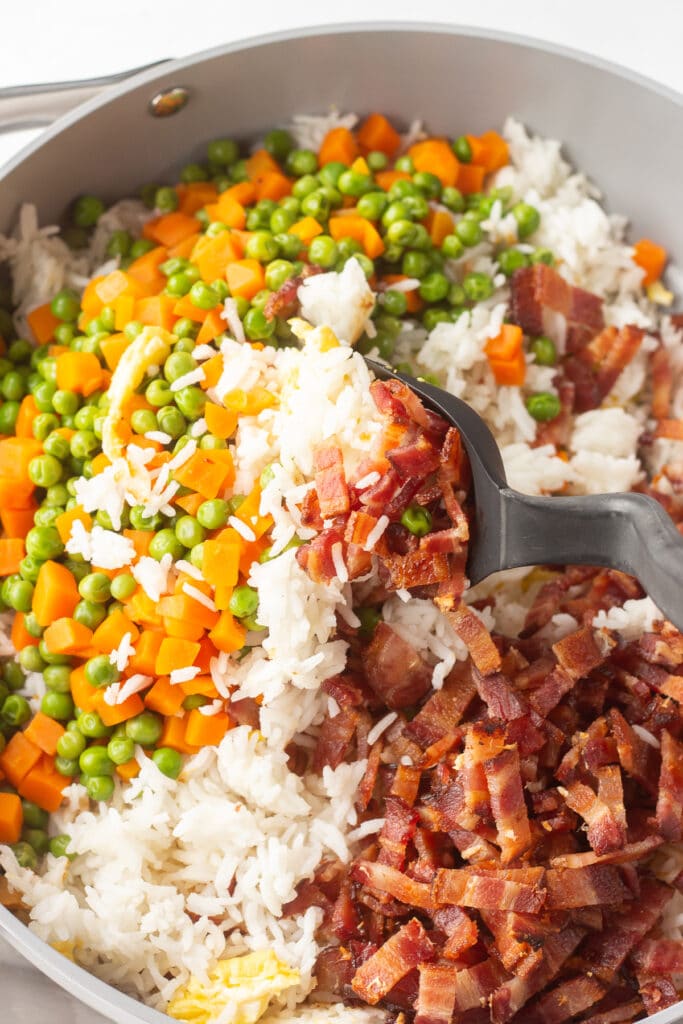
- Once the eggs are cooked, turn the heat off and add in the rice, veggies, and bacon. Stir to combine, then add in the tamari sauce and stir together to coat evenly. Taste and add more tamari sauce if desired, then serve!
Notes
- Keep an eye on the bacon in the last 5 to 10 minutes of cooking as it can burn easily.
- If you’re looking for less sodium, use low-sodium bacon and one tablespoon of tamari sauce instead of two.
- You can replace the tamari with gluten free soy sauce or regular soy sauce if not gluten free.
- You can use other frozen vegetables besides only peas and carrots. Just be sure to slightly undercook them and drain them before adding everything together.


Son Steffee
Wonderful post!