Using a meat thermometer is a non-negotiable if you want to grill an awesome piece of meat. A thermometer will tell you whether your meat is done so you don’t have to guess, or slice into it before it’s ready. Read on to find out how to use one, plus recommendations for the best digital meat thermometer!
Part of using a meat thermometer is knowing what internal temperature you want to cook the piece of meat that you’re grilling. It varies by type of meat and, depending on the cut, can vary depending on how you like your meet cooked. If you’re not sure what temperature to cook your meat to, check out this post about Grilling & Internal Temperature of Meat.
Okay, back to meat thermometers. Let’s talk about why it’s important to use one.
Reasons to use a meat thermometer:
- Lets you know when your meat is done.
- Helps you not over or under cook your meat.
- Helps you identify hot or cool spots on your grill.
- Makes you look like a bad ass cook when your meat turns out perfectly.
The first two reasons seem pretty obvious – over or under cooked meat can be a real let down. But the third reason is a bonus.
Say you’re cooking several pieces of meat at once that are all roughly the same size. If the pieces in the back are at temperature sooner than the ones in the front, that tells you that the back of your grill is hotter!
So next time you know to place the larger pieces that may take longer to cook in the back of the grill and the smaller pieces in the front.
Hopefully that has you convinced! Now onto how to actually use a meat thermometer
How To Use A Meat Thermometer
To start, I like to check my meat before I think it’s done, just in case it might be done early.
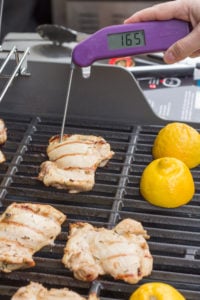
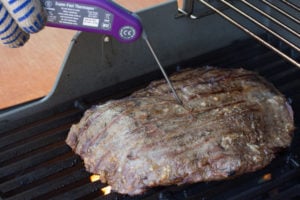
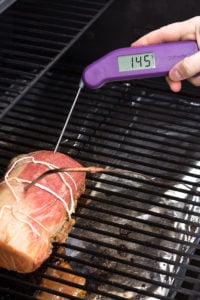
Begin by inserting the tip of the thermometer into the thickest part of the meat, but away from any bones. Depending on your thermometer, you may need to let it sit for several seconds to ensure an accurate reading
If you’re cooking several pieces of meat at once (like chicken thighs), check the largest piece of meat, the smallest piece, and a middle one. The smallest piece will likely be done before the largest piece and you don’t want to not check it then overcook it.
For larger pieces of meat, you’ll need to check the internal temperature in a couple different spots. That will give you a better feel for how well the meat is cooked throughout.
Keep cooking the meat for another couple minutes if it’s not cooked to your liking, then check the internal temperature again. You will have to be careful here because you’ll let the heat out of the grill (or oven) whenever you lift the lid, so you don’t want to check it every 2 minutes unless it’s just about done cooking.
What’s The Best Meat Thermometer?
There are a number of meat thermometers out there and many of them are pretty good. The best thermometer for you is going to depend on your budget and what you want it for.
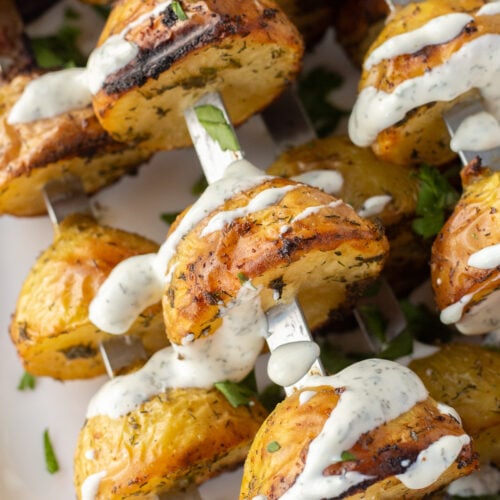
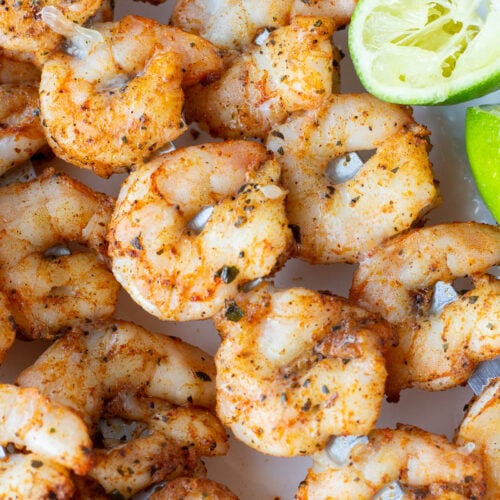
We’ve had a Thermapen for years and LOVE it. It is super accurate and handy for so many things, particularly grilling. You can see it in the pictures on this page.
It is on the pricier side, so if you want something less expensive I would suggest a ThermoPop. The ThermoPop is slightly less accurate than the Thermapen (only by a couple degrees F of accuracy), but still does a great job.
If you’re more into BBQ or smoking than grilling, I would recommend the ChefAlarm thermometer. It’s an oven thermometer where the temperature probes go in the oven (or pellet grill/smoker) and the display stays out. It’s great for things like roasts, pulled pork, or any other larger cuts of meat that you are cooking over a longer period of time.
I hope this post helps you understand how to use a meat thermometer and which one is best for you if you’re in the market!
If you found this post helpful know in the comments below – I love hearing from you!

Leave a comment